Decorative pathways
A path built properly goes unnoticed. What gets noticed is a sunken slab, or water standing after rain. Both come from the foundation, so that's where the time and the ballast go.
What you'll need
- Pavers, concrete slabs or natural stone
- Ballast, crushed stone and bedding sand
- Concrete or plastic edging
- Weed-control geotextile
- Tamper or plate compactor
- Straightedge, level and marking string
- Solar lamps or outdoor spotlights
Step by step
- 1
Set it out and walk it
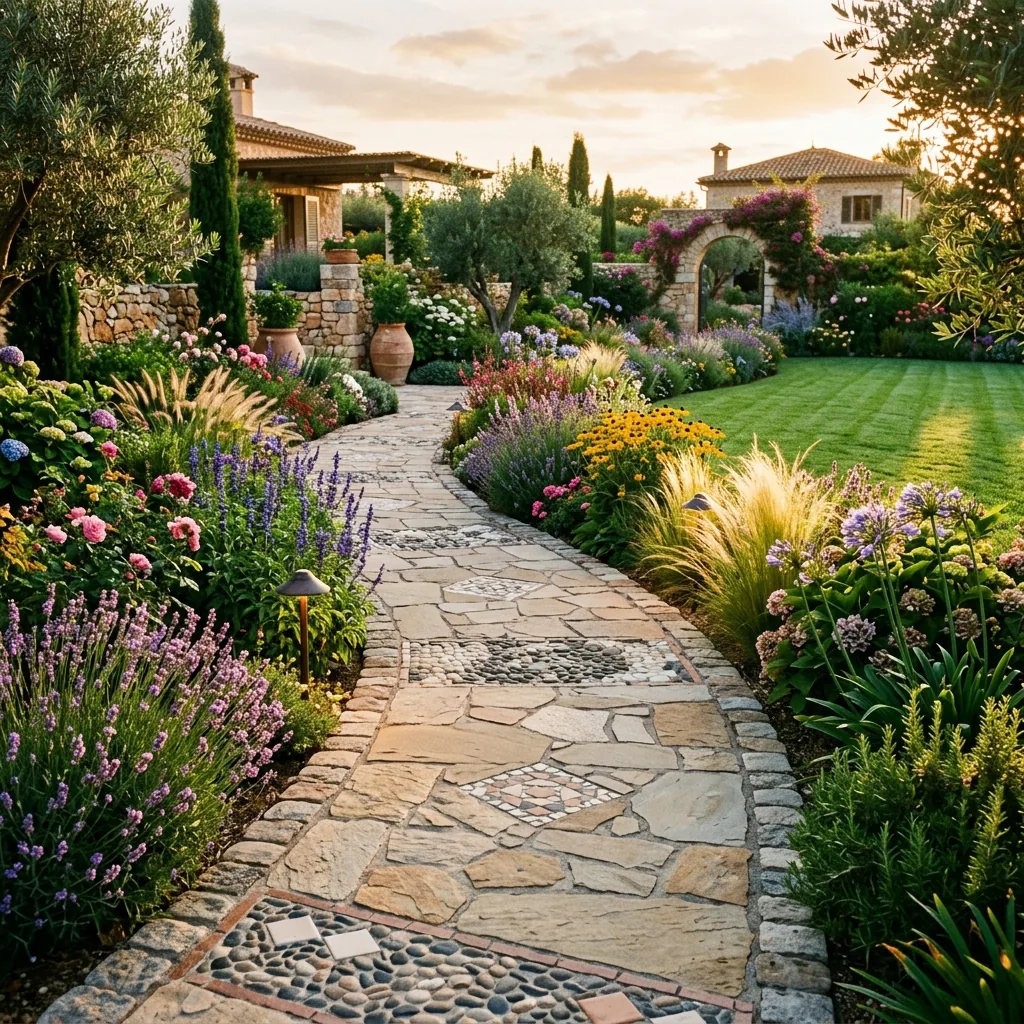
Mark the path with a hose or string, then walk it a few times before you dig. Gentle curves walk better than right angles.
- 2
Dig and lay the geotextile
Excavate 20–25 cm across the full width, plus 5 cm each side for the edging. The geotextile keeps weeds down and separates the layers.
- 3
Build the base in two layers
15 cm of ballast, laid in two layers, each compacted properly. This step decides everything. One thick uncompacted layer will sink in the first winter.
- 4
Edging first, then bedding sand
Set the edging in mortar. Then spread 3–4 cm of sand and level it with a straightedge run along the edging.
- 5
Lay it and sand the joints
Set the pavers end to end with 3 mm joints. Compact, then brush in fine sand until the joints are completely full. Do it again after the first rain.
- 6
Fit the lights
Lamps every 1.5–2 m, alternating left and right. Warm light, aimed downwards. Spotlights that shine in your eyes make the path harder to walk, not easier.
Useful tips
- Keep a 1% fall to one side so water doesn't stand.
- Order 10% more pavers than your calculated area. You'll have cuts at the ends and you'll want spares for repairs.