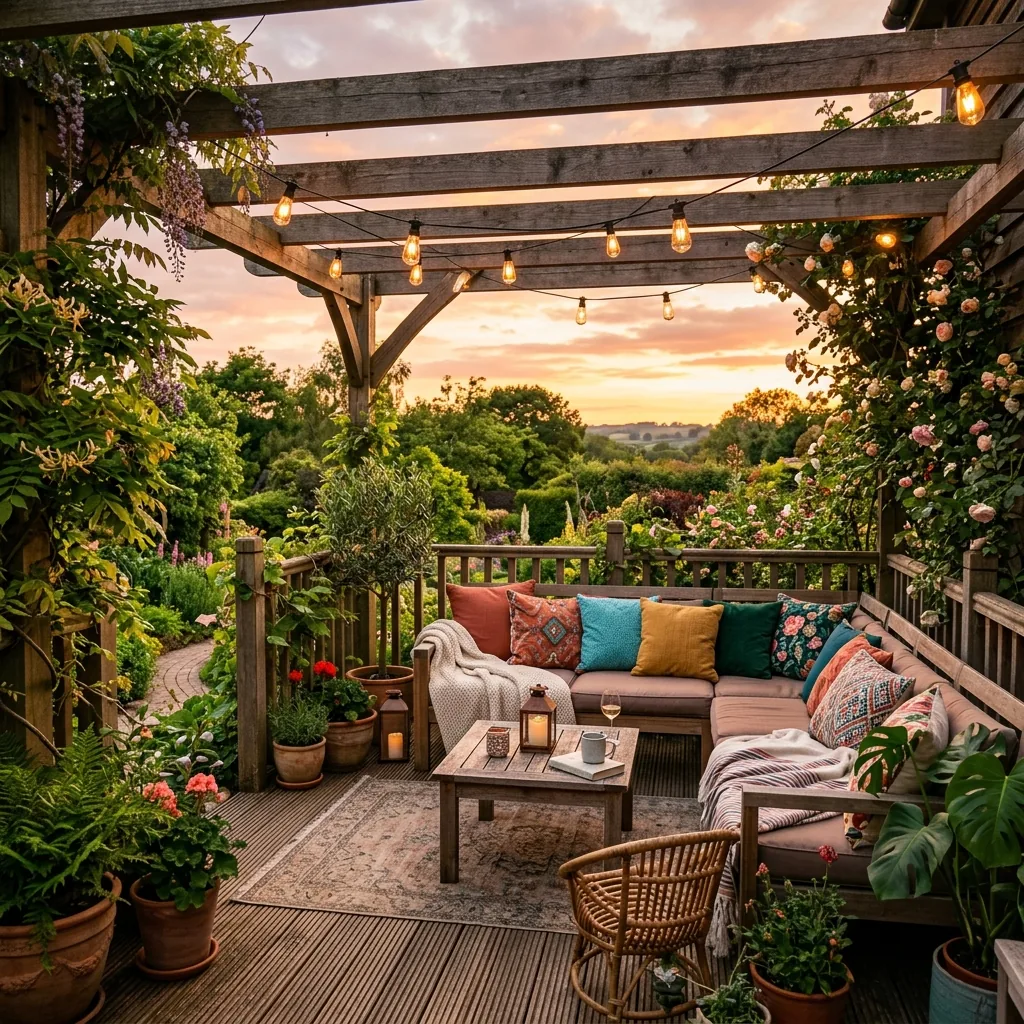
Rustic pergola
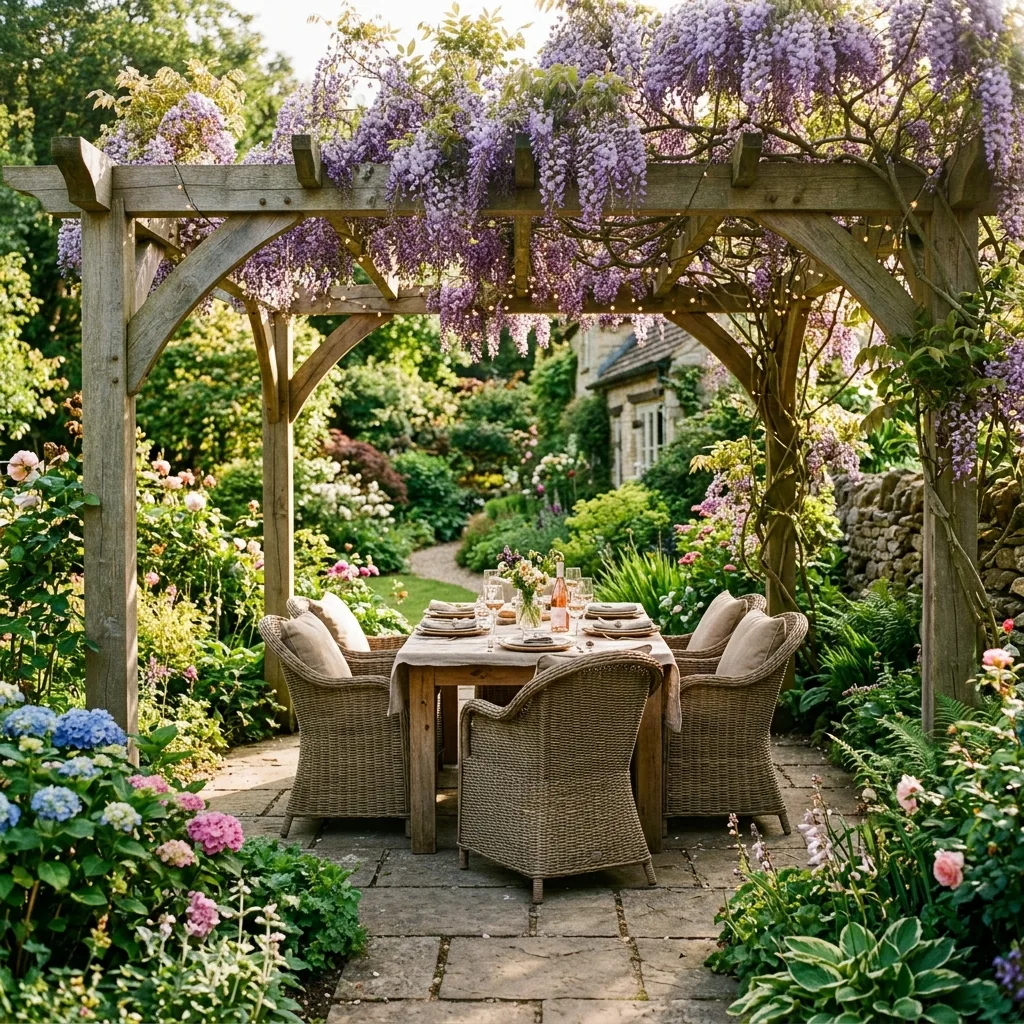
A pergola encloses a space without covering it. The shade stays filtered, climbers have something to grip, and the table in the yard suddenly feels like a room. It's the hardest project here. You'll need a second pair of hands for the beams — they're heavy and have to be held level while you fix them.
What you'll need
- 10×10 cm timber posts and 5×15 cm beams
- Metal post anchors
- Concrete for the footings
- Construction screws and metal connectors
- Exterior stain or oil
- Long level, drill and circular saw
Step by step
- 1
Fix the dimensions
For a table of six, allow at least 3×4 m and 2.2–2.4 m of clear height. Check the setback from your boundary before you dig.
- 2
Pour the footings
60–80 cm holes for each post, with the metal anchors concreted in. Measure the diagonals: the rectangle has to be true before the concrete sets, because afterwards nothing can be corrected.
- 3
Fit the posts
Give the concrete 48 hours. Then set the posts in the anchors, brace them temporarily and check plumb in two directions, not one.
- 4
Set the main beams
Fix the long beams onto the post tops with metal connectors. This is the part you do with two people.
- 5
Add the rafters
Rafters go on perpendicular, 40–50 cm apart. The closer you space them, the denser the shade at midday.
- 6
Finish and plant
Two coats of stain on every surface, cut ends included. At the base, plant a vine, a wisteria or climbing roses.
Useful tips
- Don't let timber sit against soil. The metal anchors are all that stands between the post and rot.
- Treat the cut ends straight away. That's where timber draws in the most water.
- If you're planting climbers, leave 20–30 cm between post and plant so the roots stay out of the concrete.